
Acquire Evidence Using LIBEWF
Intro
Every examiner out there has multiple tools in their tool chest. Whether they’re the paid tools or the open source ones, if you’re working in the digital forensics field, they all have the ability to ingest an E01 file. The E01 file is an industry-standard container for your digital evidence so it’s no wonder why every tool supports it. The E01 allows a user to store case information along with the evidence and also has a Cyclic Redundancy Check (CRC) to detect errors so that you know your original evidence was unchanged. This blog is to highlight how to acquire evidence using the terminal on a Mac in case you don’t have a forensic tool readily available.
Libewf in Terminal
The first step to working with an E01 on a Mac is to install the libewf package which contains all the necessary tools we will need.
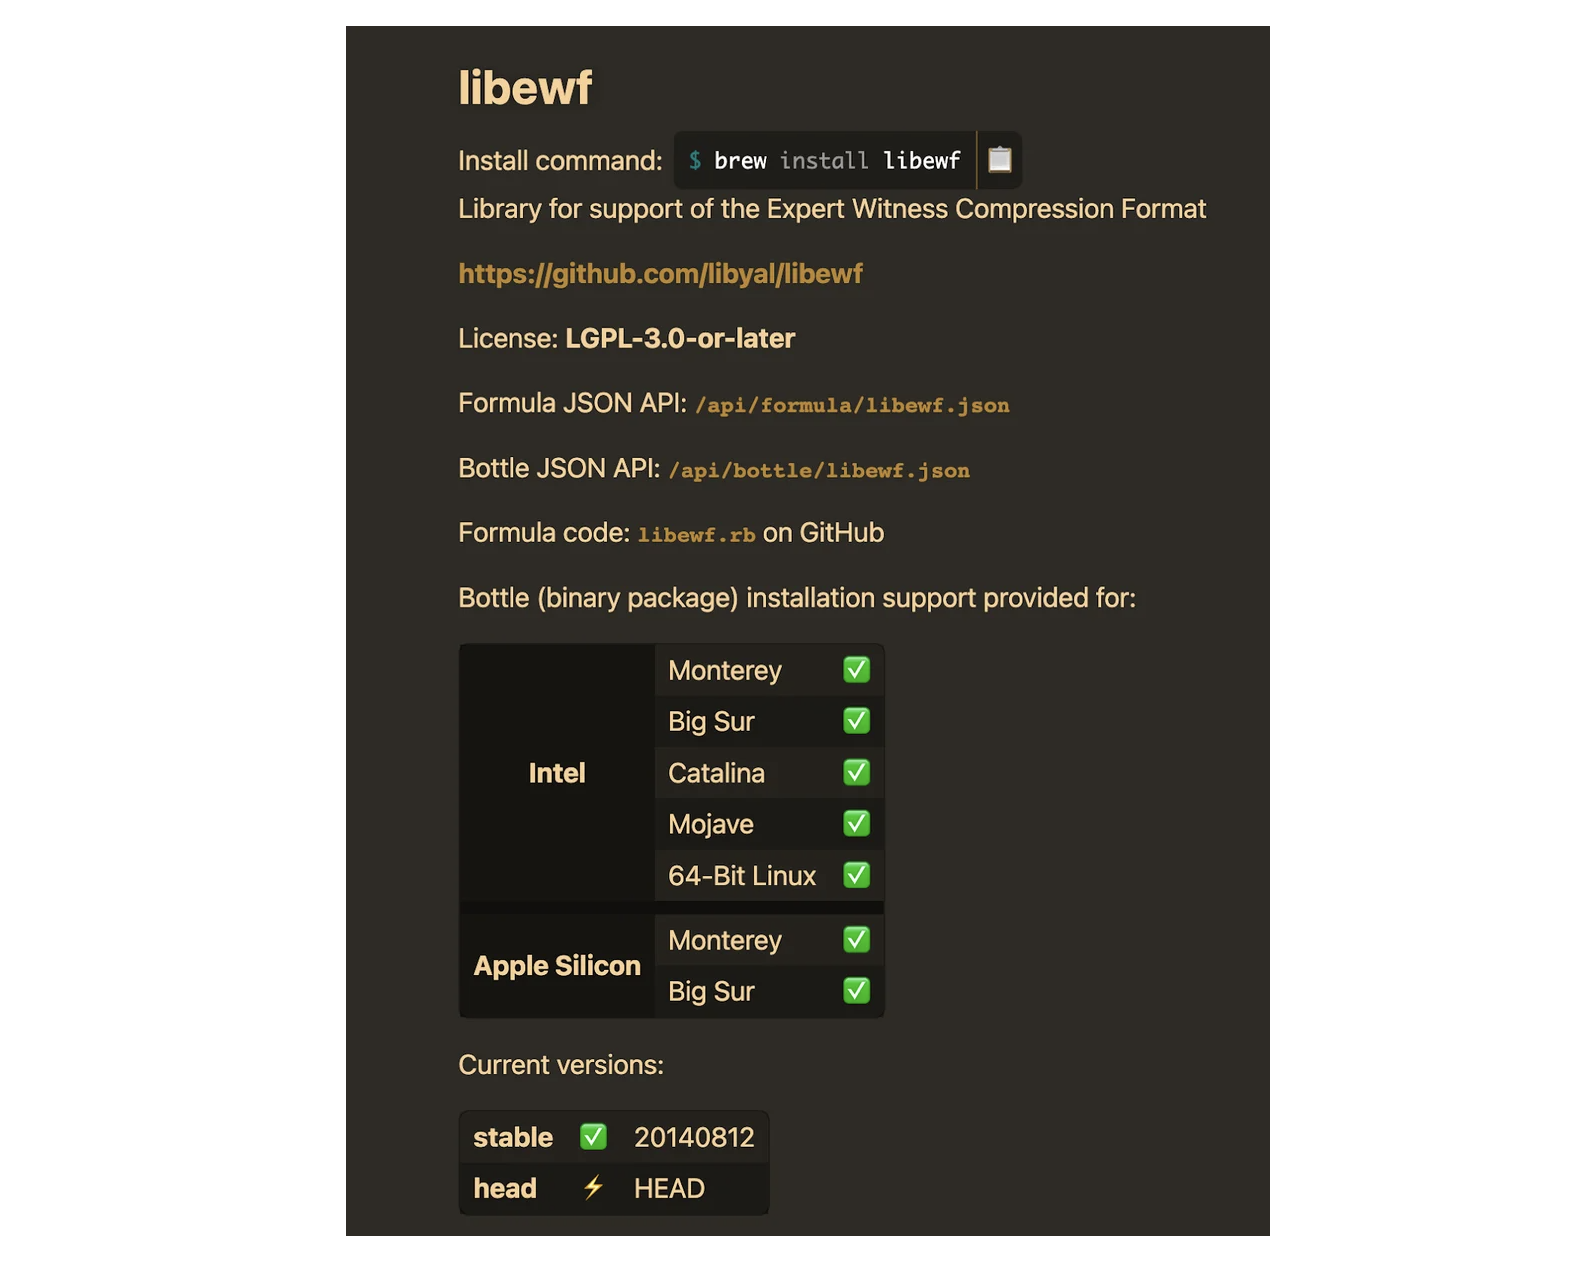
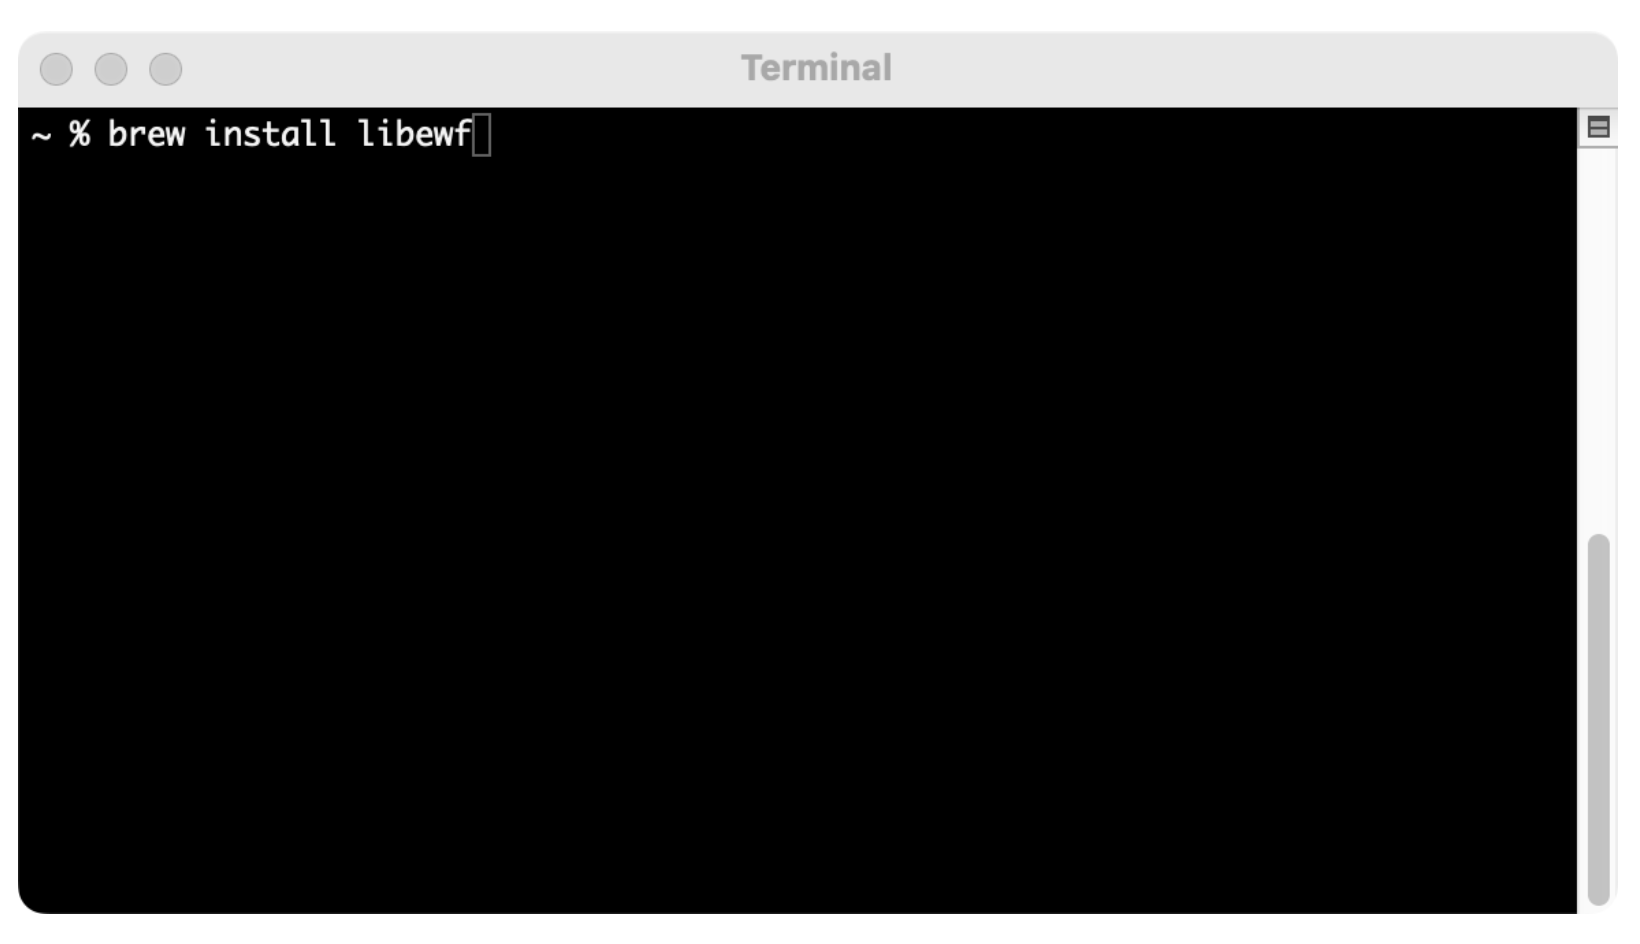
From previous blogs, we’ve already installed Homebrew on a Mac. So now it’s a matter of providing the correct command to install libewf via Homebrew with the command ‘brew install libewf’.
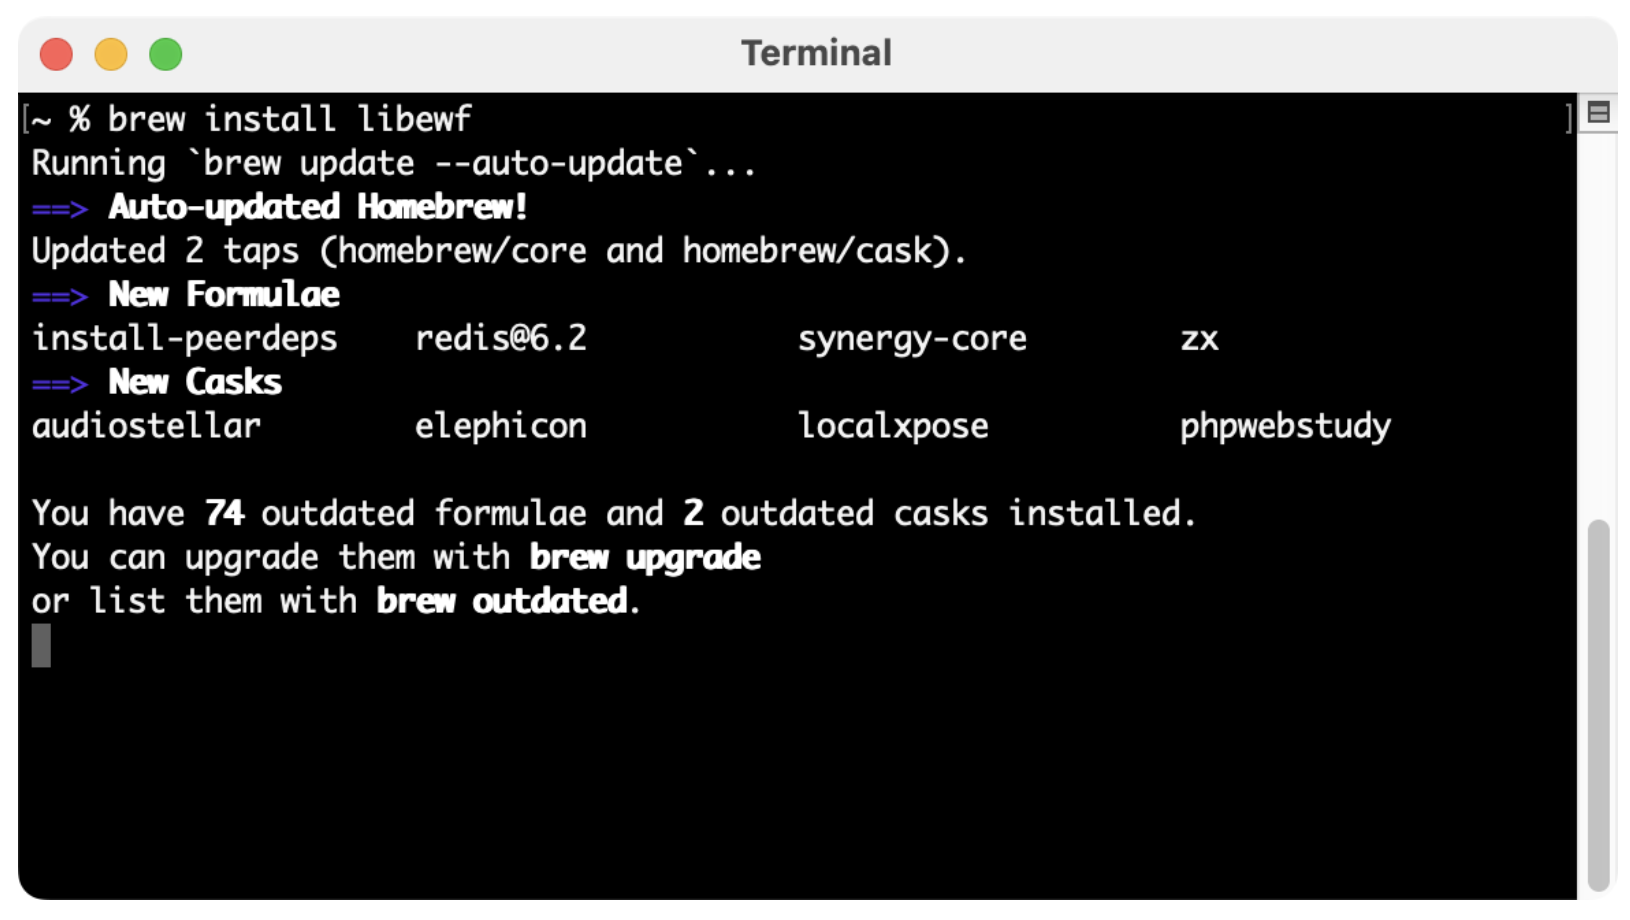
You will see the install Homebrew start checking for updates and eventually installing the libewf package.
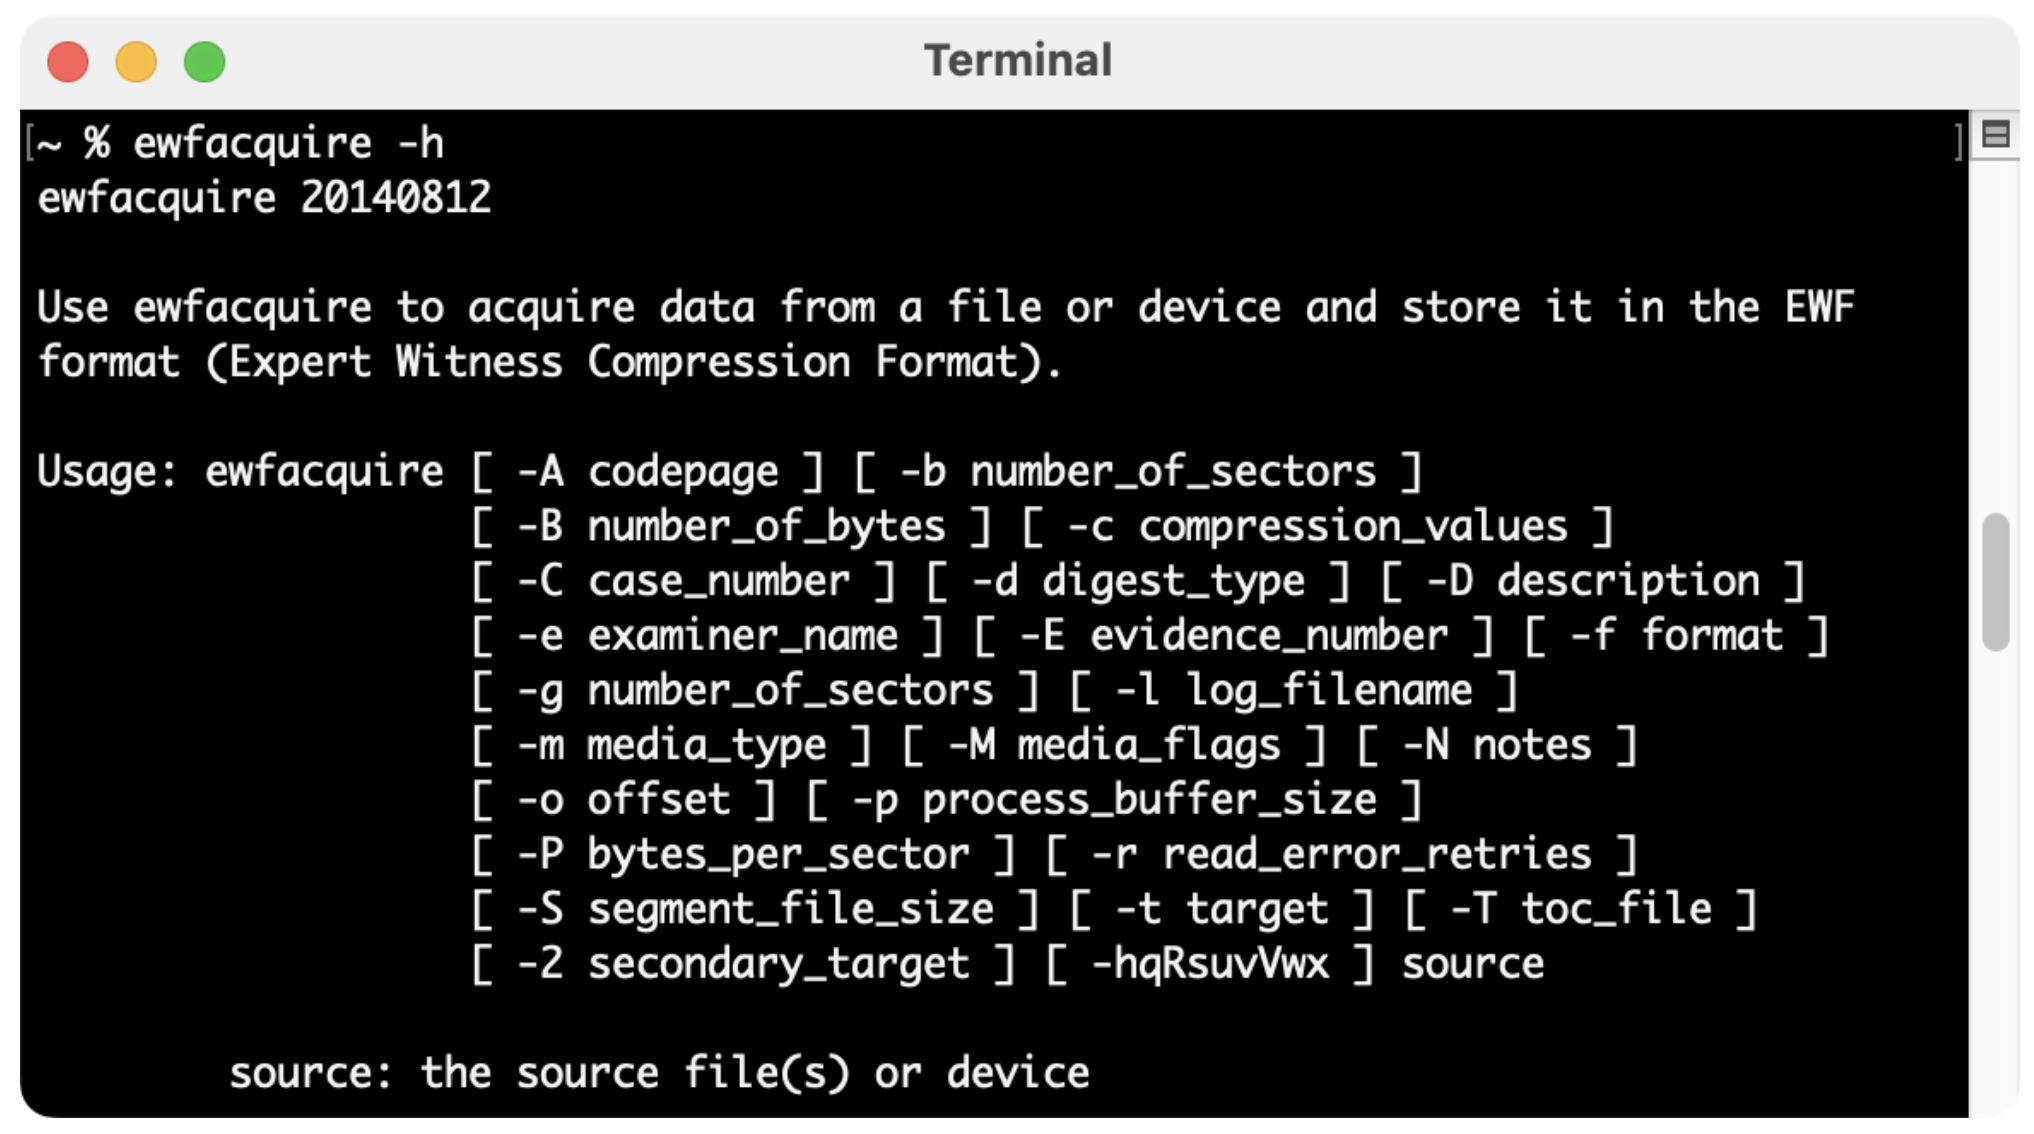
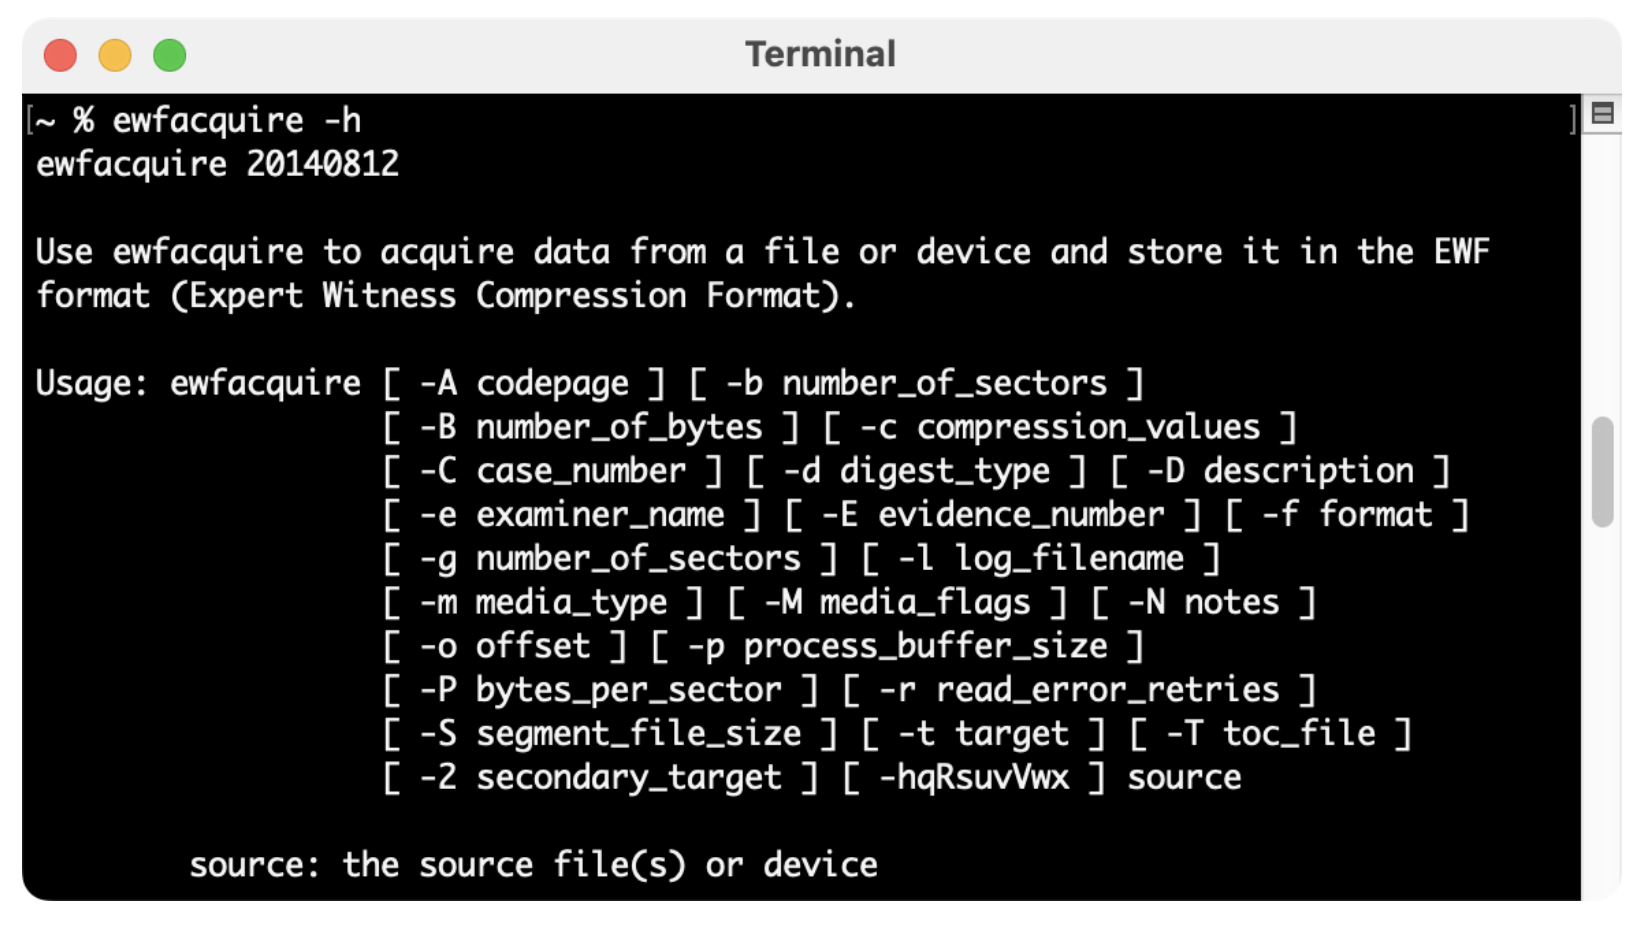
Once we get the thumbs up that the installation was complete, we can do a simple ‘ewfacquire -h’ to get the help file. And since it’s installed correctly, we see different options that can be used when using ewfacquire.
Acquiring Data
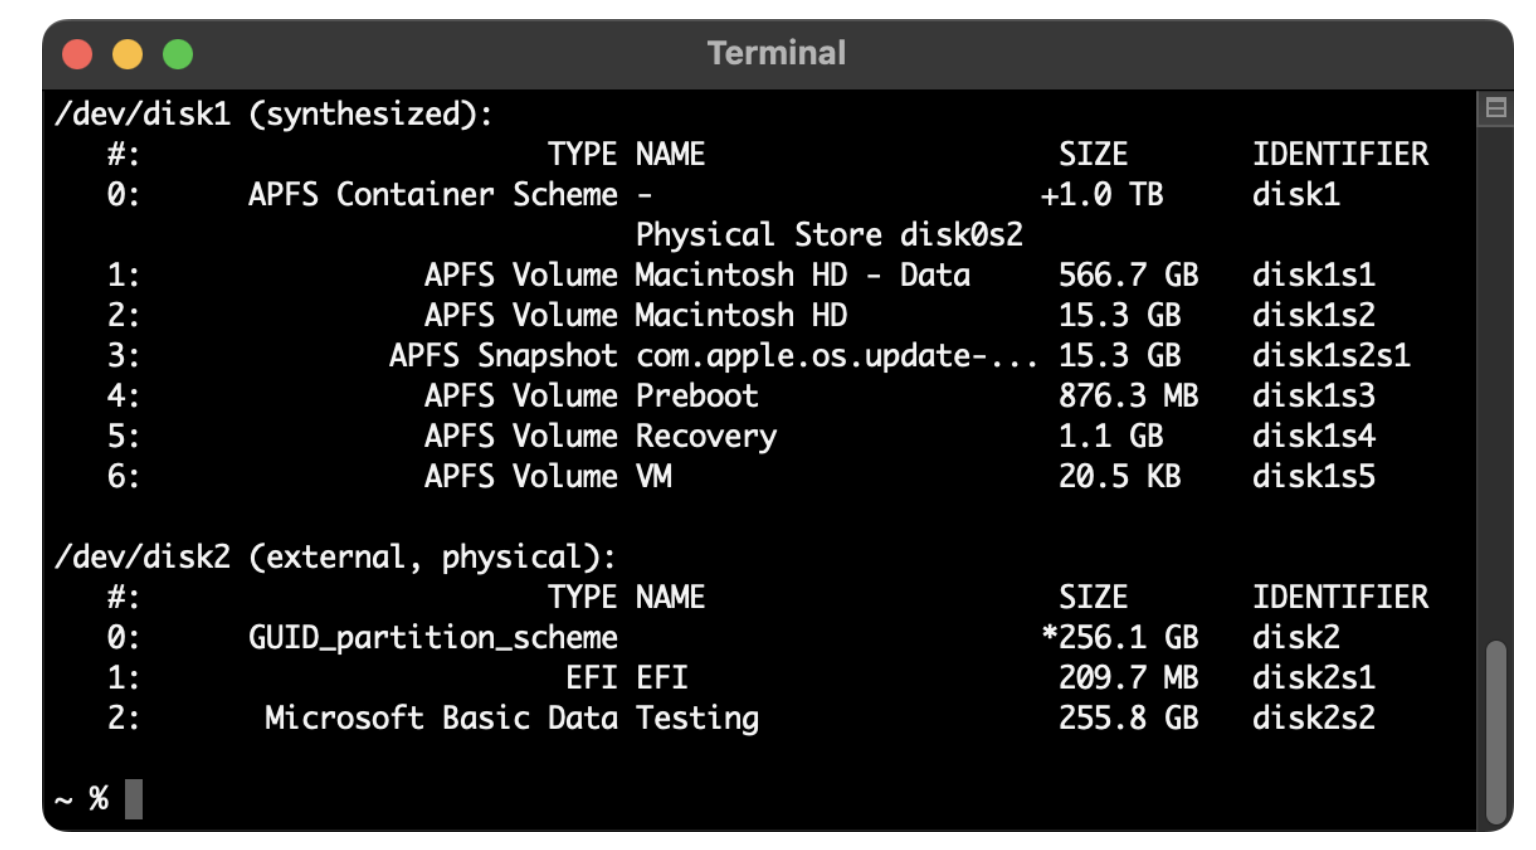
In order to acquire data using the libewf package, we’ll be using ewfacquire. To see what available disks we have on the Mac, we use ‘diskutil list’. The device we’re interested in acquiring is ‘/dev/disk2’.
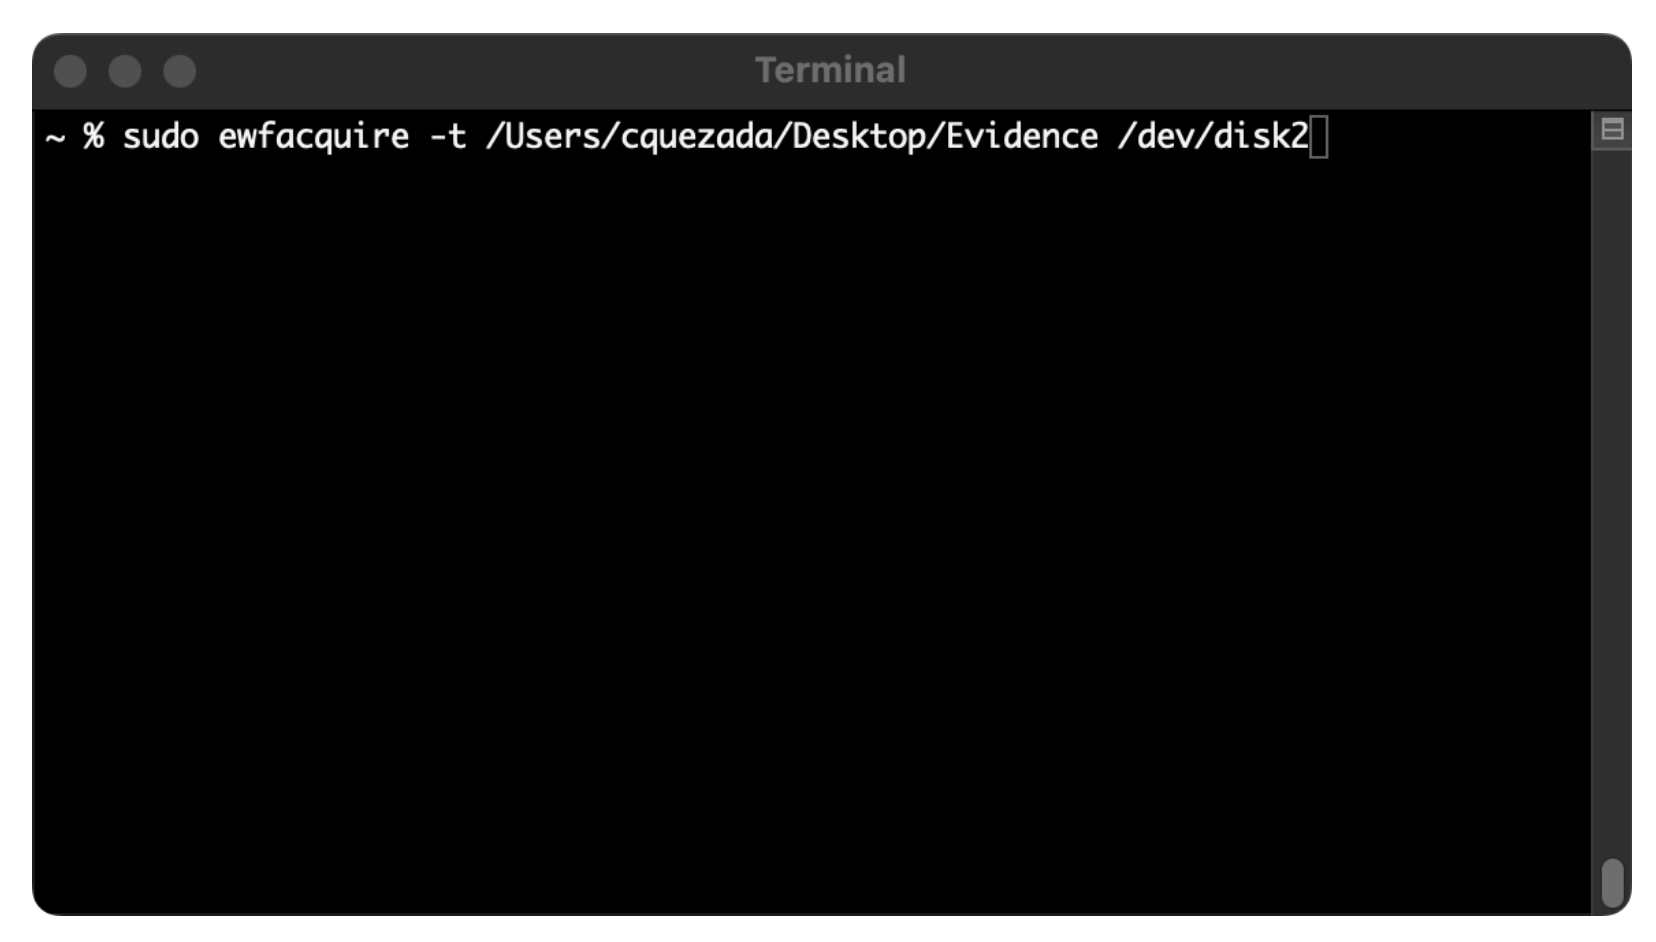
Now that we know which drive we’re going to image, we can start the acquisition process. The first path entered in the command is where we want the evidence to save to. The second path is the disk we want to acquire.
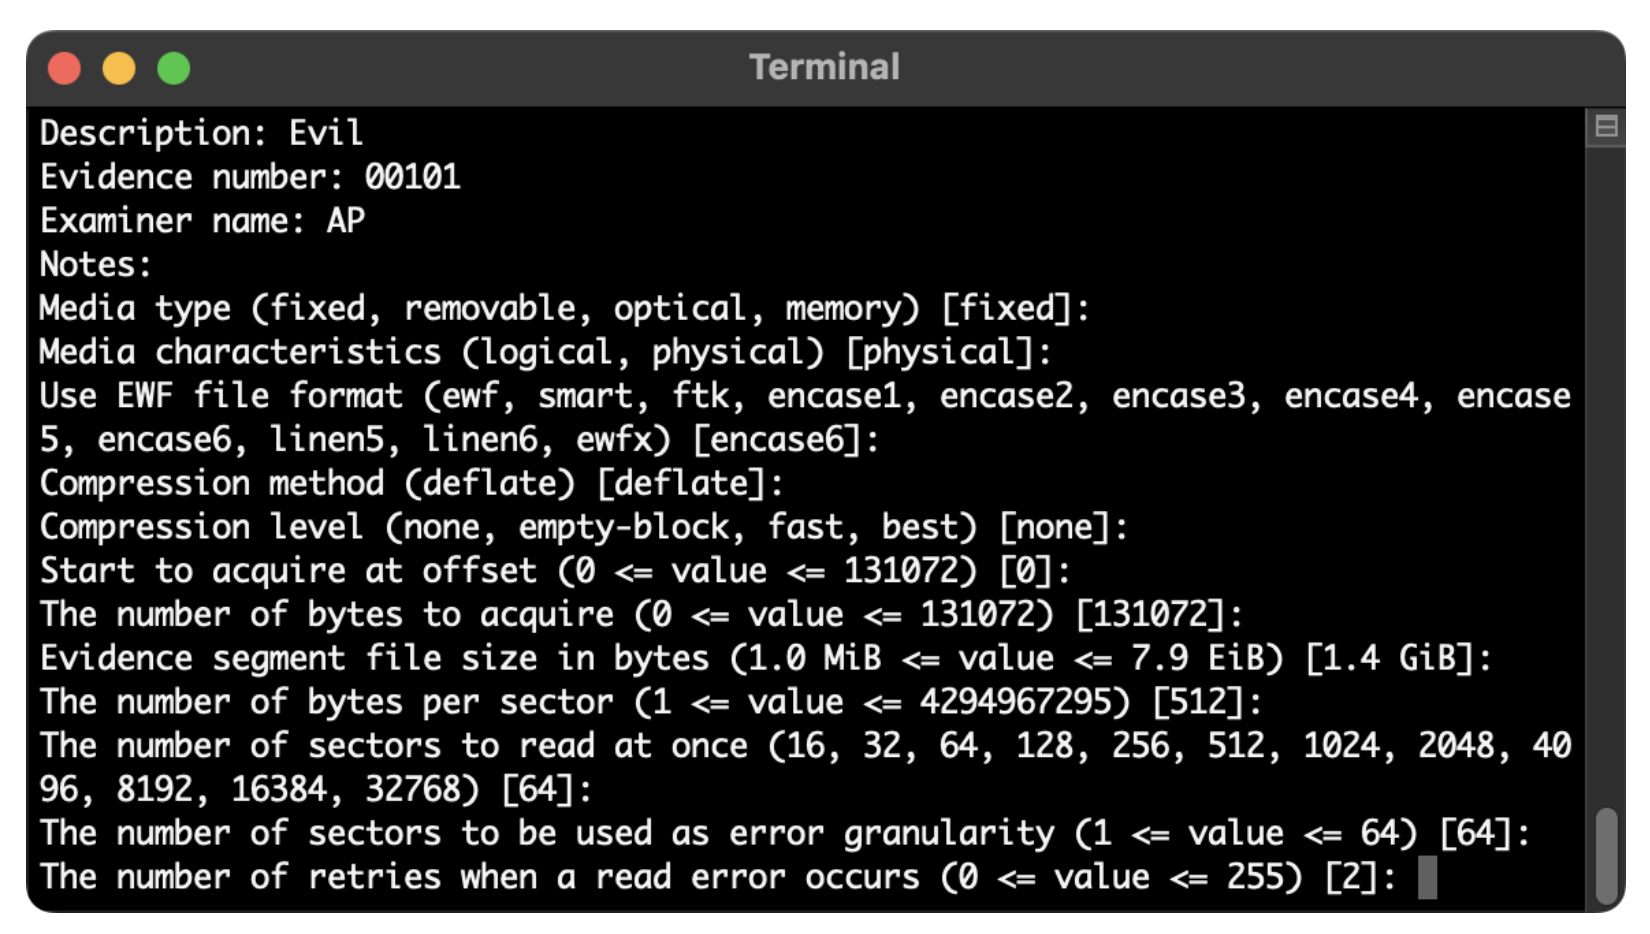
Once the acquisition process starts, we can enter in the case data. It will prompt you for all sorts of case information, image handling, and format, compression, file format, etc. All this information will be part of your E01 file and will always be used whenever it’s accessed.
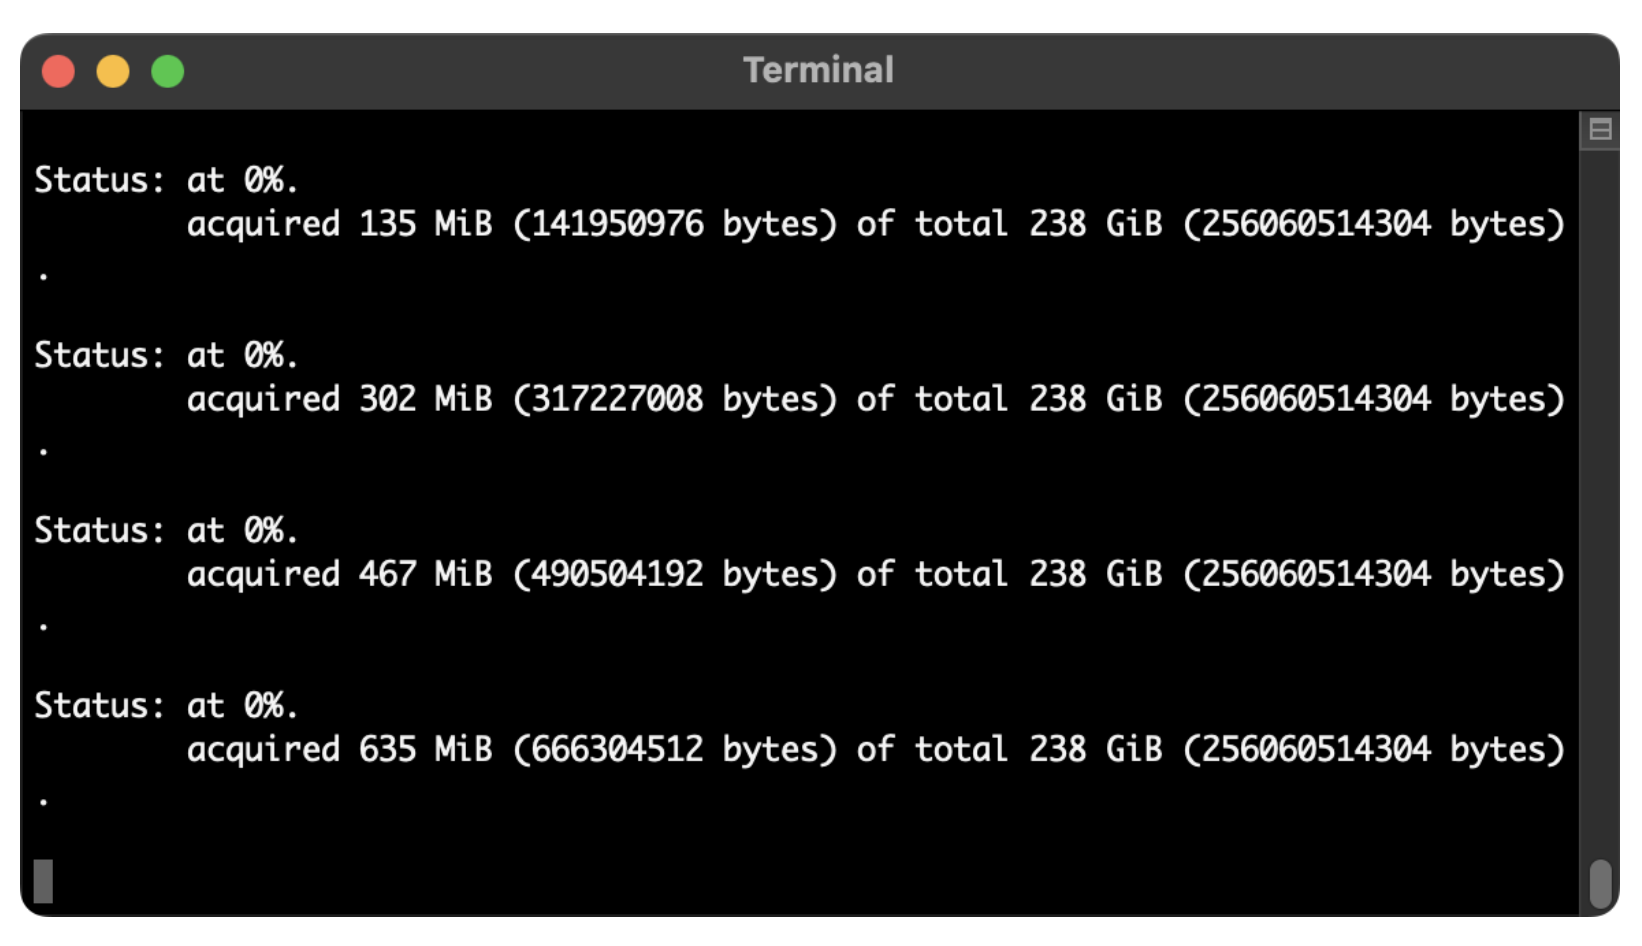
Once you’ve entered in all the requested information, the acquisition will start and we will see a progress indicator across your terminal screen with a percentage of how much was completed and an estimate of how long it will take to acquire.
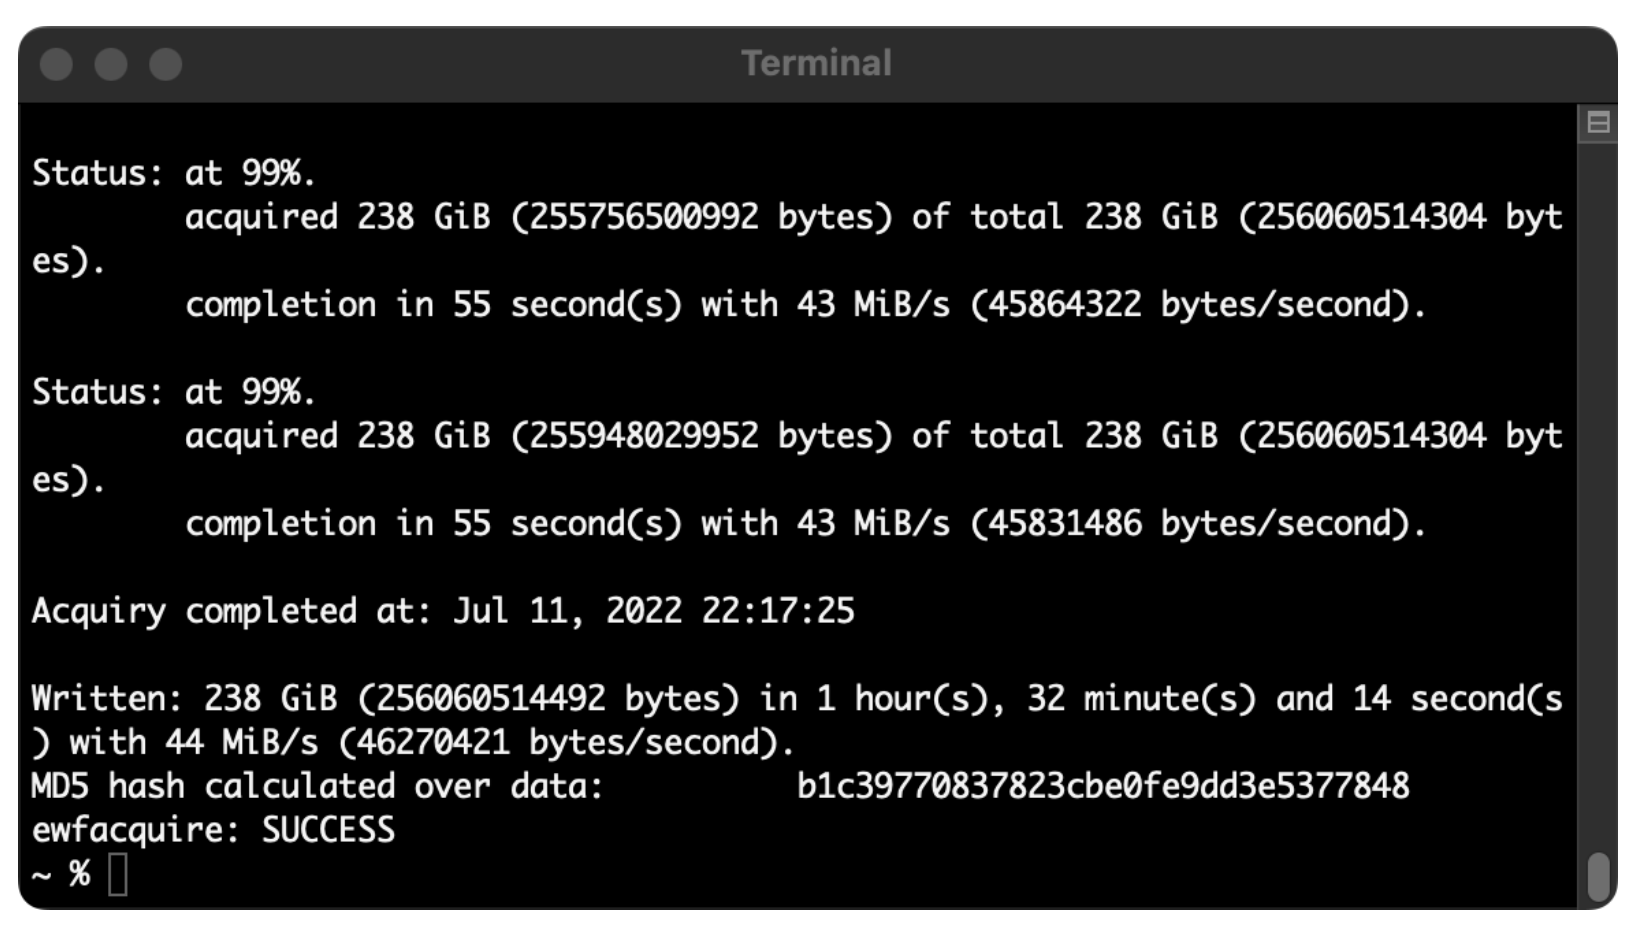
And finally, once the acquisition is complete, you’ll be at 100% and the ewfacquire will return “SUCCESS” to show that everything is completed without any issues. It will also provide a hash value to ensure the integrity of your E01 wherever you transfer it to.
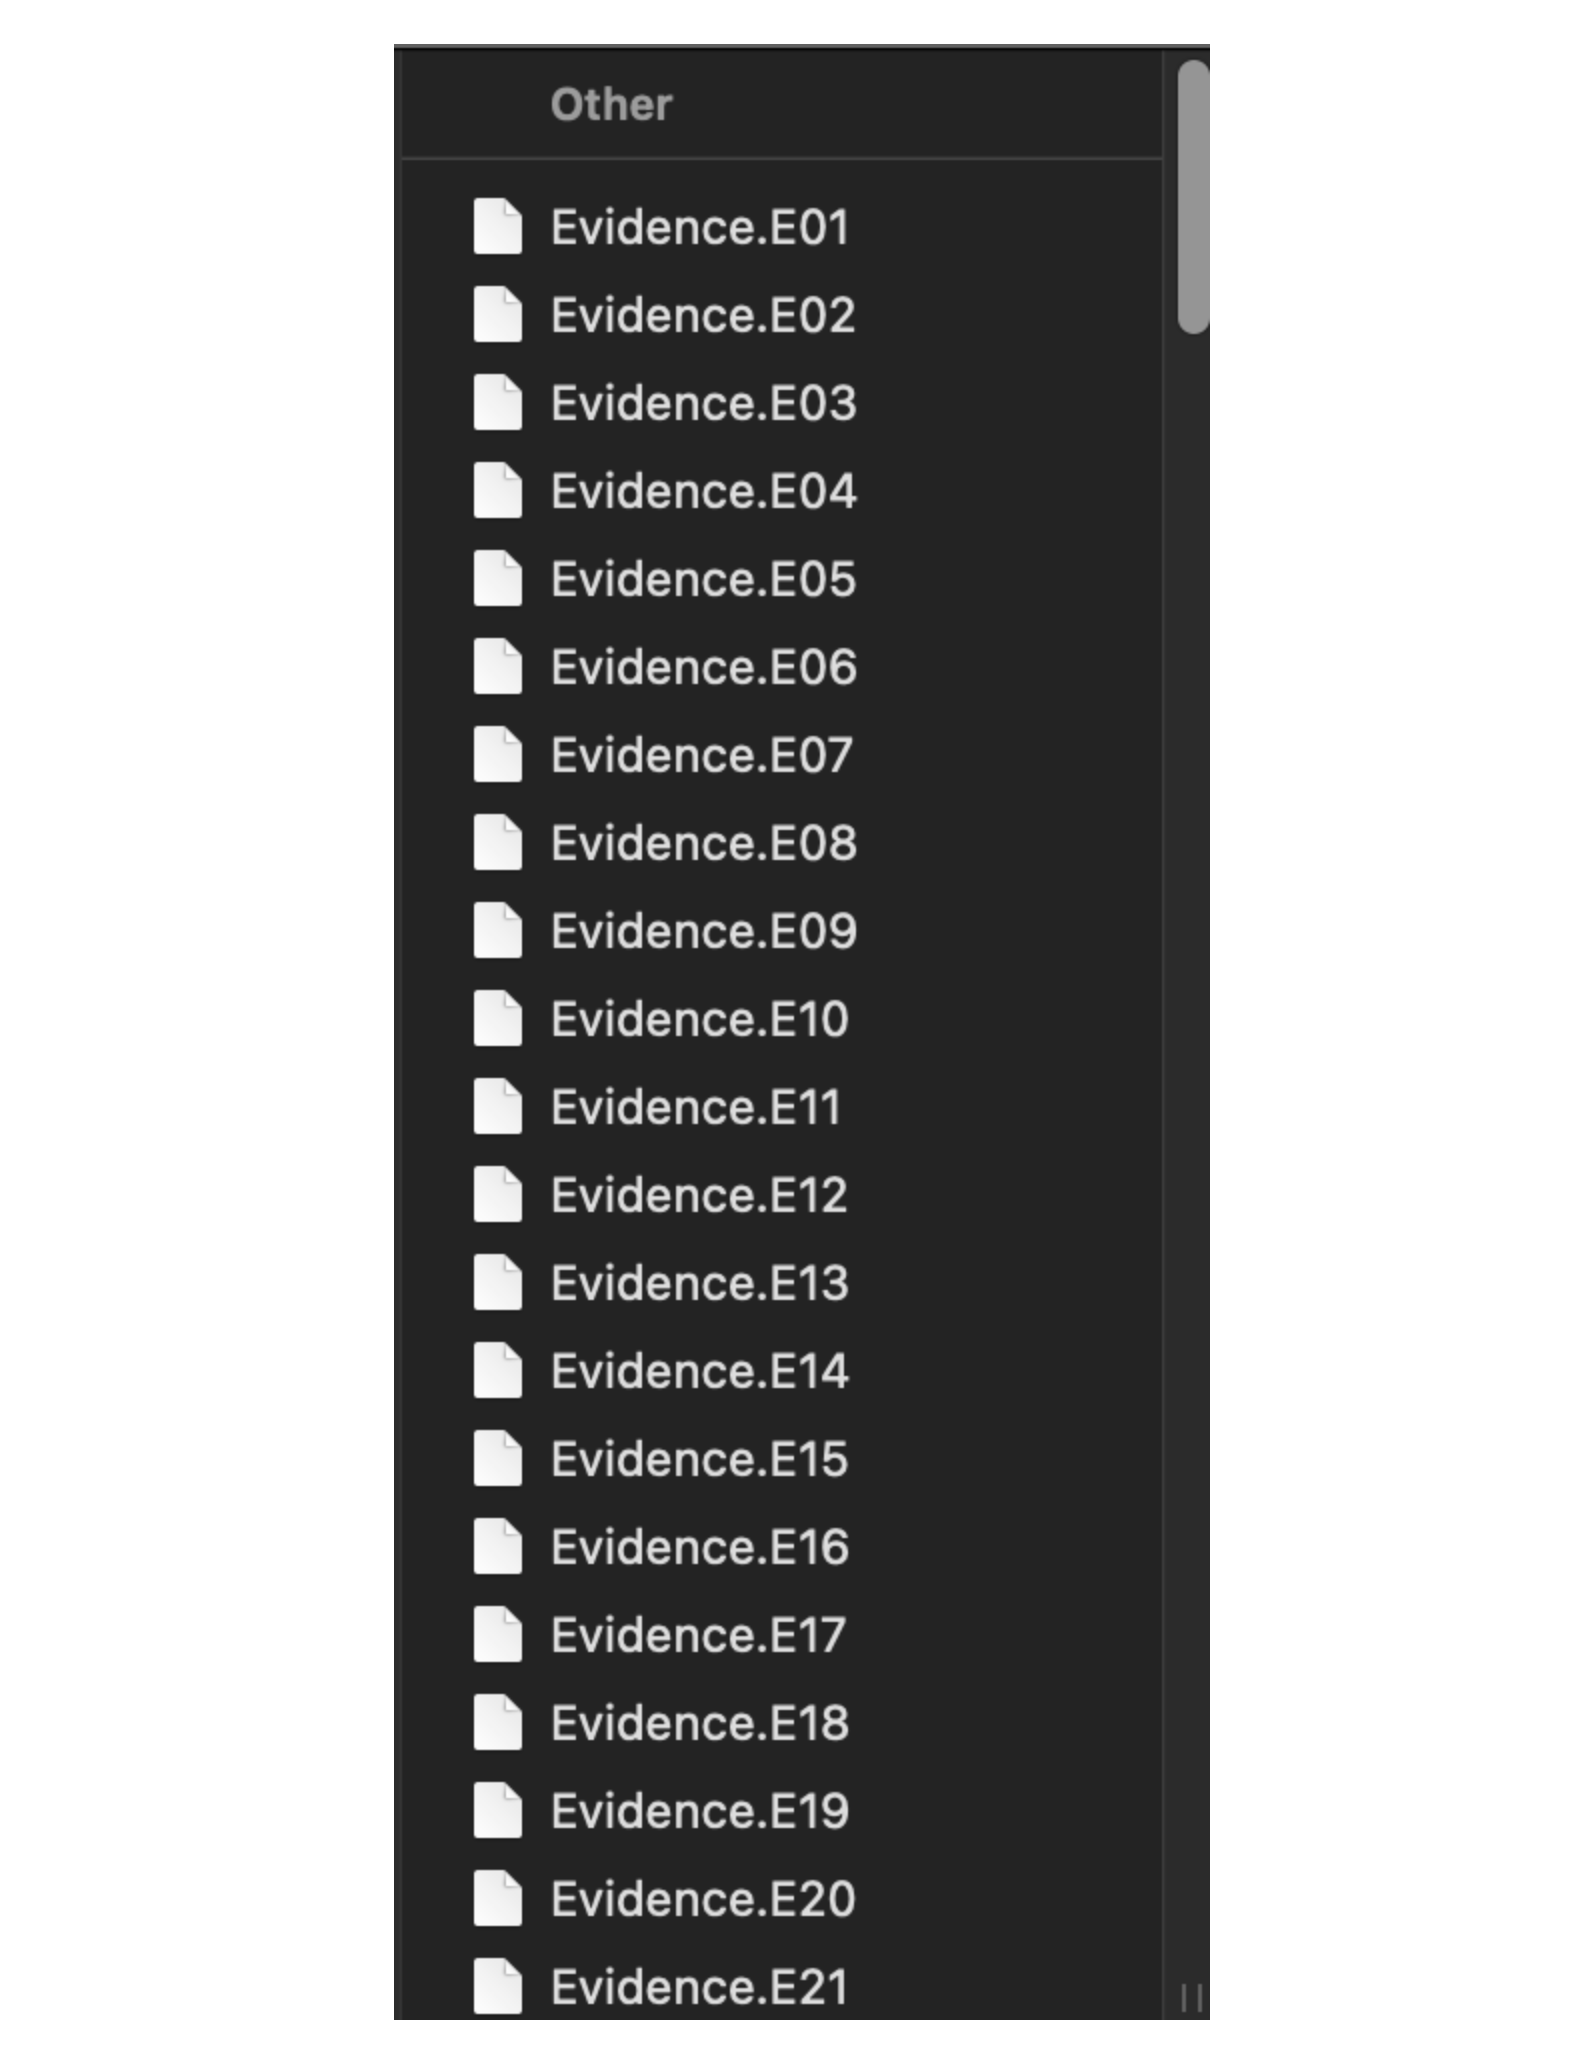
And just to double-check our acquisition, we can go to the folder where we saved our E01. Since I left all default options, my E01 is split into multiple E0Xs. Just make sure you don’t lose any of them! Alternatively, during the initial prompts, I could have changed the option to only have one large E01 instead of the multiple ones you see in the screenshot. It's the dealer's choice!
Conclusion
The E01 is the forensic industry standard file format and support for it is readily available. But there may be times when you won’t have access to forensic tools so it’s equally as important to know your way around the command line and be able to acquire digital evidence. And finally, libewf has many more features and functions that can be executed from the terminal but that’s for a future blog post!